
Boat seat pedestals are commonly used on fishing boats to provide a great seat for spotting fish, and of course, for your comfort. Installing a boat seat pedestal on an aluminum boat is a bit more challenging than installing mounting brackets and requires more time and effort.
Let’s take a closer look at how to install a boat seat pedestal on an aluminum boat, taking into account the advantages of pedestal seats, what you will need to install your pedestal, and a step-by-step instruction guide.
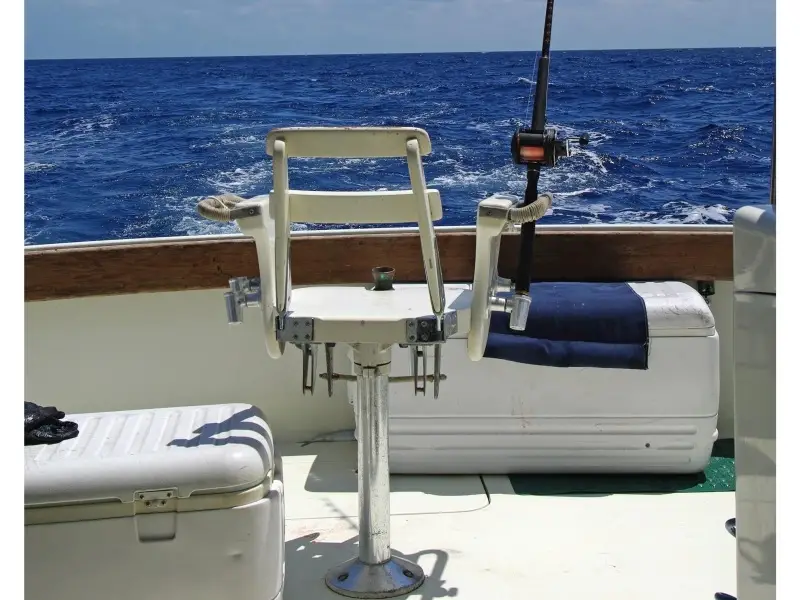
You, too, can change your boat seating from drab to fab by installing a pedestal seat.
Note: most links in this article are Amazon.com Affiliate links, see Affiliate Disclosure, thank you.
Why a Pedestal Seat?
There are many benefits or advantages to installing a pedestal seat on your aluminum boat. Great for fishing or general cruising use, the right choice of seat brings a little something extra to your boat trip.
Here are a few reasons why pedestal seats are the number one seat type for your boat:
- Height adjustable
- Many comfortable options to choose from
- Swivel abilities
- Added extras like footrests and armrests are available
- A higher view that allows for great fish spotting
- Can be a leading post when you want to stand
Boats are used for many purposes, but most commonly for cruises, fishing, and skiing on lakes and rivers. A pedestal seat can be used for all these purposes and are a great option when you want to view more than one direction while on the boat.
Choosing a Pedestal Seat
With a wide range of seat options available for your boat, there are a few factors that you should bare in mind when making your decision and selecting the ideal seat for your boat.
They are:
- Comfort
- How easy they are to clean
- The ease of use
- What the boat is used for
- Ease of installation
Of course, budget and preference play a big part in your choice, and these, too, should be kept in mind when choosing the best pedestal seats for your boat.
Materials you Will Need for Installation
Installing a pedestal seat requires more than a drill and some screws, especially if you are installing a pedestal on an aluminum boat. You will need to buy the following tools and items:
- A drill and an aluminum drill bit
- Screwdriver
- Screws
- Masking tape
- A marker
- Marine epoxy resin
- Marine adhesive sealant
Before you look at this list of requirements and start to panic about the task that lies ahead, remember that these are the best tools for the job and will ensure a safe and secure installation of a pedestal seat.
Always use marine sealants and resin, as these are made specifically for use on boats and other water crafts.
You can find these materials at your nearest hardware store.
How to Install a Seat Pedestal on your Aluminum Boat
We have put together an easy-to-follow yet detailed step-by-step guide you should follow when installing a seat pedestal. Take your time to read the instructions that follow, as well as the instruction guides of the products you are using, to ensure that you are using them correctly.
Step #1: Marking your screw holes
The very first step you will need to take is to place your pedestal in the place where you want it on the deck and mark the screw holes with your marker. Ensure that the pedestal is in the correct position before marking.
Step #2: Check under the area you will be drilling
Ensure that you will not be drilling into any tanks, wires, or other electrical components before drilling your holes.
Step #3: Measure one inch on your drill and tape off the drill bit
Before you start drilling into the deck of your boat, mark off the drill bit with a piece of masking tape, leaving one inch exposed. This piece of tape acts as a guide as to how deep you need to drill and should never be surpassed.
Step #4: Mix the marine epoxy resin according to packaging instructions
Once you have drilled the necessary holes for your pedestal, pour a prepared epoxy resin solution into the holes. The resin mixture will fill the gaps in the aluminum and will prevent water from leaking into your deck. Let the resin cure for at least three days before continuing your installation.
Wait three days.
Step #5: Drill pilot holes in the resin
Now that your epoxy resin has dried, you can drill the holes required to secure the pedestal to the deck of the boat. Measure half the size of the screws and mark this on your drill bit using masking tape. Drill up to the marked point and complete all holes as indicated by the resin.
Step #6: Marine adhesive sealant spread
Using a grouting tool or your finger, spread an even layer of adhesive sealant over the resin holes as well as on the base of your pedestal. The sealant is used to create an extra layer of safety to secure the pedestal to the deck of the boat. Place the pedestal over the holes and insert the screws but do not tighten them fully.
Step #7: Set the sealant and tighten the screws
Let the sealant set for at least 24 hours. Once the pedestal is stable and does not move, tighten the screws fully. Double-check each screw and ensure that all are screwed in all the way down.
Once you have completed all the steps above, you will need to attach your seat to the pedestal. In most cases, the seat frame has multiple screw holes that need to be attached to the pedestal.
If you are installing seat pedestals for all your boat seats, you will need to repeat the installation steps above for each seat individually. If this is indeed the case and you are installing completely new seating, you will find it more useful to do all the drilling in one go and allow three days for the resin to dry for each pedestal.
Conclusion
Pedestal seats are a great option for your boat, and more so for anglers, as these seats have adjustable height settings that are ideal for spotting fish. Choosing a seat need not be a difficult task and should be chosen according to your boat’s seating needs. Follow our step-by-step installation guide, and always ensure that you use the recommended tools and products for the best installation possible.