
You get to the lake, turn on your I-pilot Link remote and nothing happens. This is a common problem for many people, including myself.
The first-generation I-pilot Link remote has a lot of complaints of charging issues. I think this is due to a design flaw in the charge cord plug-in. I have had my I-pilot link for over four years now, so it is well used. I have cleaned the contacts in my remote and replaced the cable a few times. Due to frequent use, my remote got to the point of not charging. I was able to fix this with some simple adjustments. Here I’m going to share with you two tried and true hacks that will solve this issue.
Note: most links in this article are Amazon.com Affiliate links, see Affiliate Disclosure, thank you.
Disclaimer
It is a common complaint that even though the remote says it is buoyant, it does not float. Given this, I was not concerned about compromising the waterproof nature of the remote. These hacks will compromise the waterproof structure of your remote. If this is a concern, you should either use silicone to reseal the back panel or not attempt this at all.
Another important thing to keep in mind, you need to be extremely careful with grounding out your remote’s battery. If you connect the positive and negative wires you can ruin your battery in an instant.
Add a USB plug cable
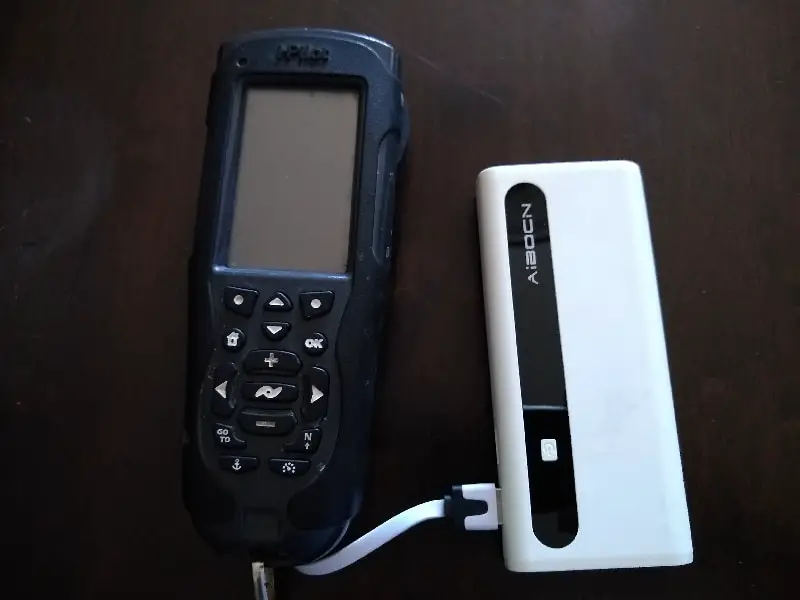
My favorite hack is to add a USB plug cable because it is such a straightforward modification. Also, you can use a battery pack that can be easily purchased on Amazon.com to run or recharge your remote throughout the day.
Tools you will need for this hack
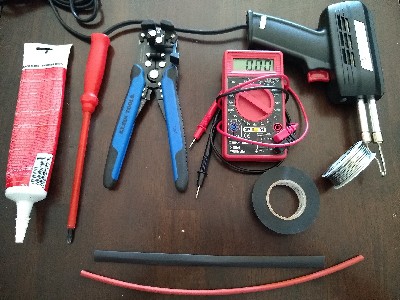
- Phillips screwdriver
- Wirecutter
- Wire stripper
- Digital voltmeter
- Solder
- Soldering iron
- Black tape, electrical
- Heat shrink
- Clear silicone, bathroom rated
Supplies for hack one
- Ribbon style USB charge cable
- Backup power supply battery with USB plugs
Step one
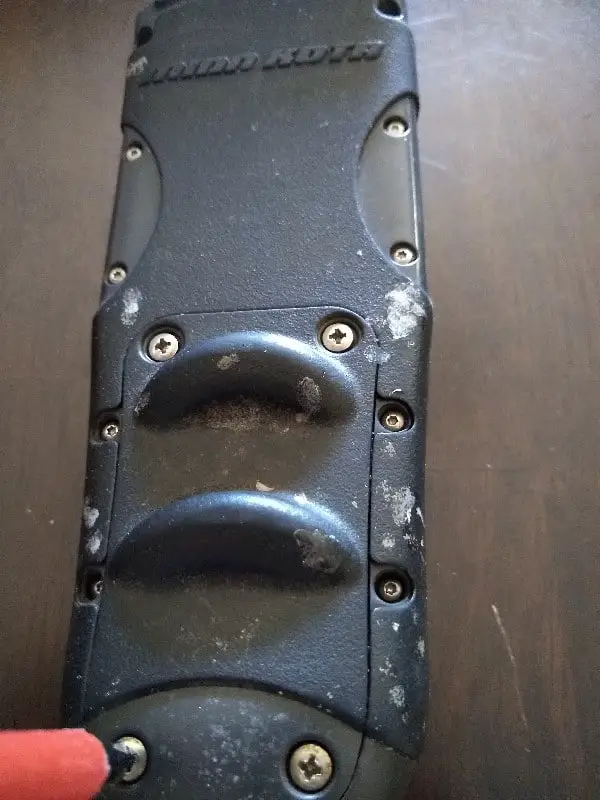
Open your I-pilot remote by removing the four screws on the back panel. This will expose a diaphragm, and underneath that will be the battery and its’ plug-in.
Unplug the battery and set the parts to the side. I normally place all the parts in a reusable food storage container so that I don’t lose them.
Step two
You need to strip the wires on your USB charge cable. Keep in mind, the connector that plugs into the backup battery or a standard USB port is the one that you will be using for this project
I made mine extremely short because I planned on using a rubber band to connect my backup battery to my remote. You can make this cord longer and keep the backup battery in your coat pocket.
Most USB charge cords have 4 wires, so you will need to do a volt test to be sure that you are using the correct wire. Your battery voltage is 3.7 volts, but if you want it to charge you will need to draw 4.5 to 5 volts from your battery supply.
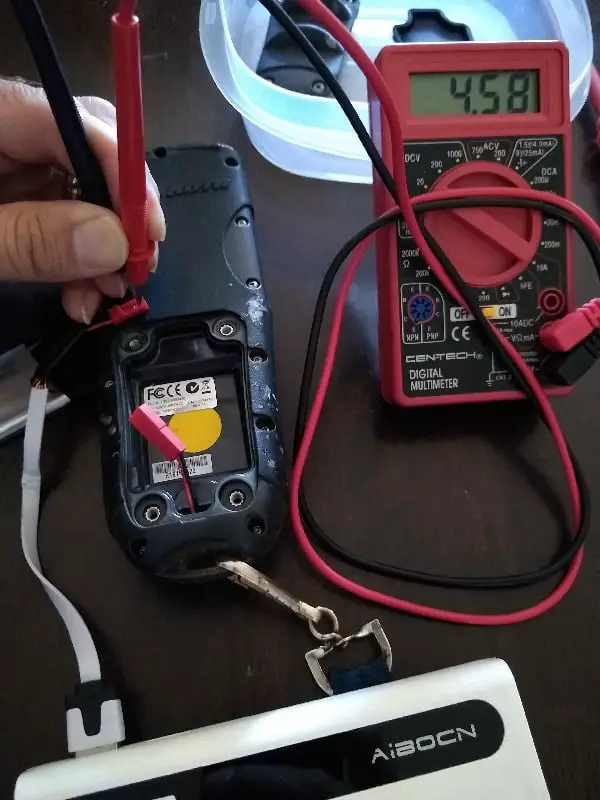
Separate all the wires before you test them. Then move the voltmeter around in a systematic pattern until you find the two wires that give you 5 volts. Make a note of which wire is positive (red) and negative (black). Charge cables are commonly not color-coded. Trim the other two wires so they cannot accidentally touch anything.
Safety note: make sure that you are reading a positive 5 volts. If there is a negative sign in front of your 5 volts then you have your wires reversed.
Step three
Take your remote battery and cut the red and black wire approximately in the middle, and strip a 1-centimeter section on each wire. At this point, add a piece of heat shrink to each wire on the battery side of the connections.
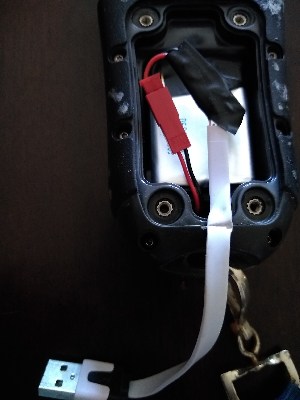
Connect the two battery wires and the charge cable positive together. Solder these three wires together, then cover with the heat shrink. Repeat this process for the negative wires and heat the heat shrink to seal the connection.
After completing these steps, I like to take a small piece of electrical tape and wrap the connections together to keep them from moving around.
Step four
Now that you’ve completed the connections before you put everything together you should test your work. Take your backup battery and plug in your USB connector.
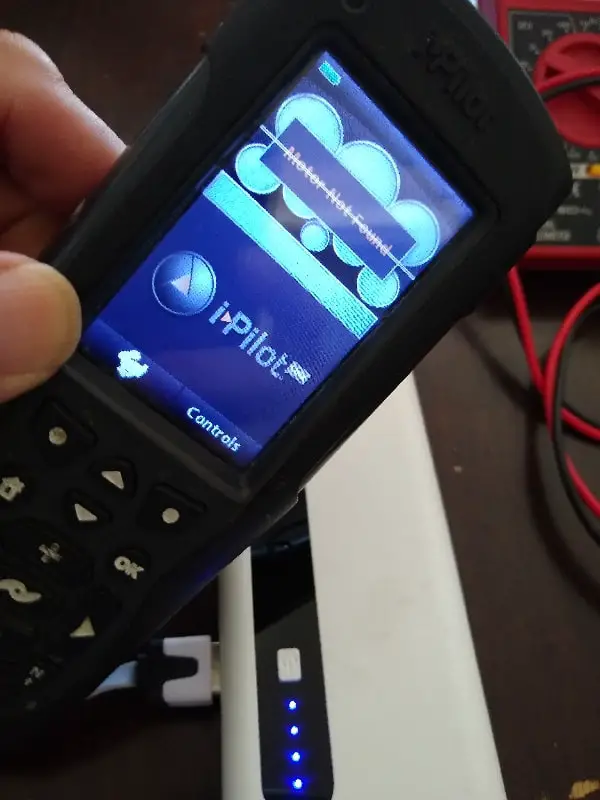
Turn both your backup battery and your I-pilot remote on. Your battery indicator icon on the remote should come on almost instantly. In a matter of a few minutes, there should be a noticeable difference in the charge level.
In my case, the charge light did not come on. I’m not sure if that is normal, however, the battery did complete a charge and I was able to disconnect the backup battery in 15 to 20 minutes.
Step five
How you choose to seal your unit is really a matter of personal preference. I felt like it wasn’t worth the trouble to seal mine completely, given the lack of buoyancy (regardless of their claims).
If I were going to seal it, I would start by taking my wire cutters and removing a small piece of the diaphragm, just so the wire would have a place to lay. Then I would run a light bead of bathroom silicone around the edge of the diaphragm. To complete it, I would add an additional light bead of silicone around the edge of the battery cover.
If you add a larger amount of silicon where the charging cable exits the back panel of the charger, you should be able to seal it thoroughly. Tighten the screws, but make sure not to over-tighten the two screws on the side where the wire comes out. Over tightening them can break the connection inside the USB cable.
Adding wireless charging to your I-pilot remote
Adding wireless charging to your remote is very similar to adding a USB charge cable to your remote. If you have not read through the previous section, I recommend that you do so because there are a lot of details in that section that I will not be covered in depth here.
There are a lot of advantages to wireless charging. This can allow you to set your remote on a charging stand next to your depth finder, and have it fully charge without the hassle of a cable or extra weight.
Tools
This project will require the same tools as required in the last project.
- Phillips screwdriver
- Wirecutter
- Wire stripper
- Digital voltmeter
- Solder
- Soldering iron
- Black tape, electrical
- Clear silicone, bathroom rated
Sourcing parts
- Wireless charging stand
- Wireless charging receiver
- USB mini charge cable extension
Step one
Open the battery cover on the rear of the I-pilot remote, and remove the diaphragm and battery. Place all parts in a container for safekeeping while working.
Step two
A wireless charging receiver normally comes with a plug-in that is compatible with different phones. The receiver in the Amazon.com link provided is a USB mini plug, and the extension cable is also compatible with a USB mini.
Wire the USB extension cable exactly the same as explained in the previous hack with the regular USB cable. Wiring your plug this way will make your remote more versatile, enabling it to charge with either a wireless receiver or a phone charger cable.
Cut the extension cable to your desired length, and strip the wires for testing. You will need to plug in your extension cable to a power source in order to test it. Attach your voltmeter to each set of wires until you find the combination of wires that gives you 4.5 to 5 volts.
Make sure that you are getting a positive 5 volts (NOT negative). Mark your wires and trim off the two unused wires to prevent shorts.
Step three
Connect your wires in the same manner as mentioned in the first hack. Cut the battery wires in half and strip one centimeter. Add two 1 centimeter pieces of heat shrink to the battery side of the wires. Connect all three positive wires and solder them together.
Cover the connection with the heat shrink, and repeat the process for the negative wires. Don’t forget to add a little bit of electrical tape to hold everything in place, and prevent stressing your connections.
Step four
Test your remote by plugging in the mini USB to your phone charging cable, and turning on your remote. You should see your battery indicator increasing in power level.
Step five
Replace the diaphragm in the back of the remote. Notch out a small section of the diaphragm if need be, to run the mini USB extension cable through. Add a small bead of silicone around the diaphragm to seal it in place. Add another bead of silicone around the cover to seal it completely, with an extra amount on the cord.
Replace the cover and tighten the screws. Remember not to over-tighten the screws where the cable comes out, because as I mentioned before, this can pinch it and break the connection.
Step six
Plug your receiver into your mini USB plug exiting your I-pilot remote.
Place three strips of silicone on the back of your remote. Go heavy on this, because it will dry nice and firm and keep the receiver mounted in place. The last thing you have to do is plug in your wireless charging device and set your remote on top.
I would place mine right next to my depth finder so I could grab it with ease to change the headings or speed of the motor.
These projects are very doable for the average boat user and will completely solve your problem charging your I-pilot remote.