Your fishing boat’s electric trolling motor runs on batteries, and they need to be charged to function correctly. Onboard chargers recharge or maintain the boat’s batteries and ensure that everything is functional. That is why onboard chargers are not just a convenience but a necessity.
An onboard charger recharges and maintains your electric trolling motor’s batteries by converting A/C power to D/C power at the battery’s voltage. A good onboard charger will regulate the power sent to each battery for the perfect charge to match the battery’s requirements.
There are various sizes and types of onboard chargers available in the market, and you need to ensure that you buy the right one that repowers your boat batteries. Purchasing an onboard charger is one of the best things you can do for your boat, but you must ensure that the charger properly powers all the batteries on your fishing boat.
In this article, we will look at onboard battery chargers for boats and discuss how they work, how you should select one, and their purpose.
Note: most links in this article are Amazon.com Affiliate links, see Affiliate Disclosure, thank you.
What Is An Onboard Battery Charger?
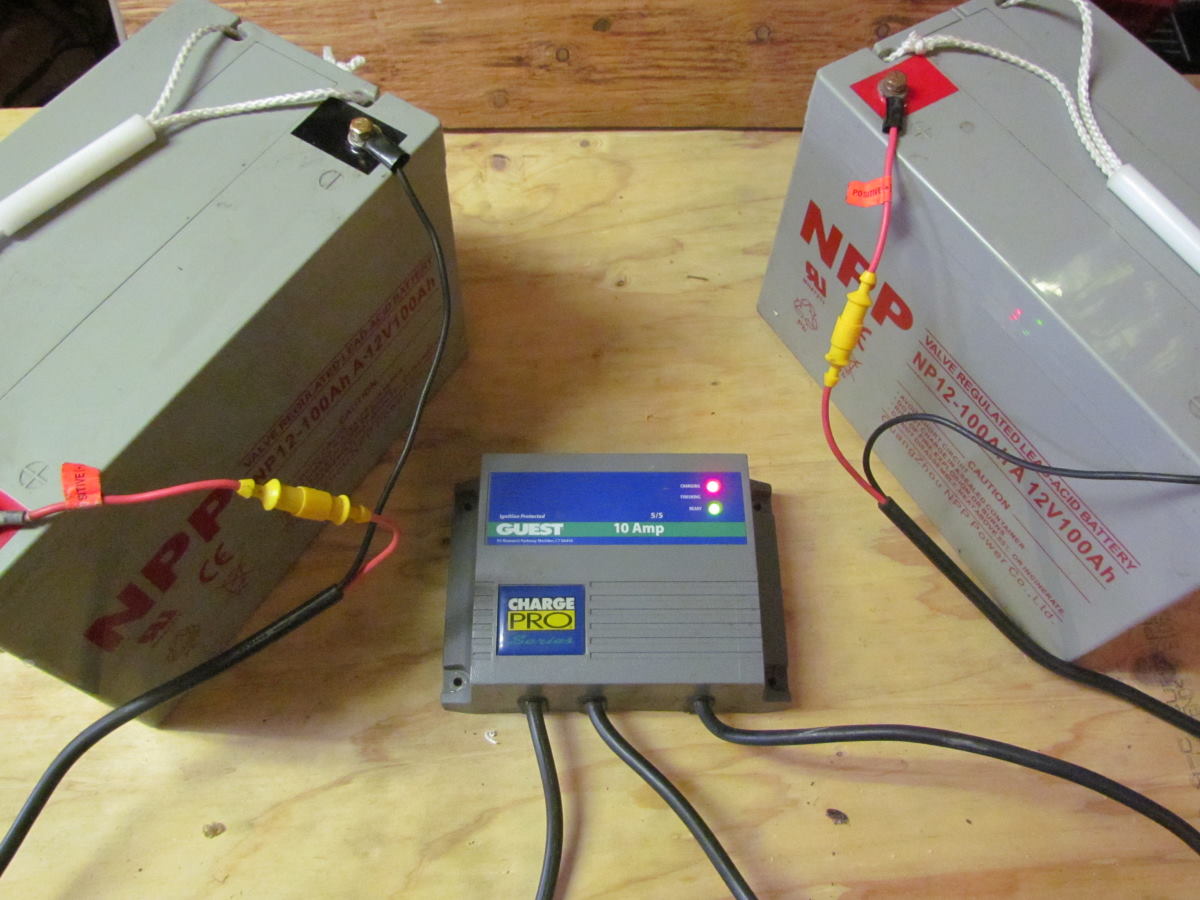
An onboard battery charger is a device made to charge batteries on a boat or, more specifically, the electric trolling motor batteries. Most onboard chargers are mounted in the boat, hard-wired to the batteries, and can be plugged into a 120-volt power supply with an extension cord.
Generally, an onboard charger has one or more battery chargers built into a single device. Modern onboard battery chargers have built-in charge controllers that will run through a charge cycle and automatically switch to maintenance mode when the batteries are fully charged.
When you have an onboard charger, you won’t ever need to worry about your boat’s electric trolling motor batteries running out of power as it will charge them appropriately, leaving you with a fully charged boat to take out onto the waters.
Finally, onboard chargers are also referred to as marine battery chargers, boat multi-bank chargers, or onboard battery maintainers.
Do I Need An Onboard Battery Charger?
You don’t need an onboard charger for your fishing boat, but you certainly want an onboard charger if you don’t want to risk your fishing boat’s electric trolling motor batteries running out of power on your fishing trip.
Here are four reasons you need an onboard charger on your fishing boat
- Plugging in your charger between uses will put it to work recharging your boat’s batteries. Most Onboard chargers also automatically maintain your boat’s batteries after they are fully charged.
- An onboard battery charger can have multiple batteries connected to a single device. When using multiple batteries for a 24 or 36 volt system, the onboard charger will charge them to the same level.
- Because onboard chargers typically have a waterproof rating of IP67 or better. They are safe to mount in your boat and leave long-term.
- Onboard battery chargers can maintain your batteries resulting in longer battery life.
These are our four reasons, but honestly, the convenience of being able to plug one cord into your boat is the only reason we need.
What Is the Difference Between an Onboard Charger and a Regular Charger?
Some people say, “you can charge your batteries with a standard charger, and you will be fine,” but we disagree. Onboard battery chargers are made for boats and all the issues in a wet environment. Regular battery chargers typically are not rated for moist environments. However, there are more differences.
Most onboard chargers are designed to charge multiple batteries simultaneously, while standard chargers are made to charge one battery. This can be a huge time saver on a 24 or 36 volt trolling motor system.

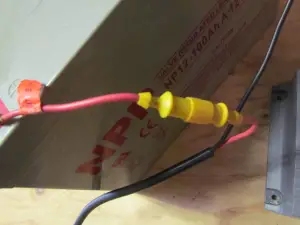
An onboard battery charger has dedicated wiring for each battery. The wires are all rated to handle the maximum amperage of the charger and usually include fuses in-line, or you can add small breakers. Most standard chargers are connected to the battery terminals with battery clamps.
Some standard chargers have microchip-controlled charge profiles that a user can control. However, most onboard chargers are fully automatic, and some even sense battery type automatically. The benefit of this is the perfect charge profile for your electric trolling motor batteries.
The one thing both chargers have in common is the power source. Typically, regular chargers and onboard charges both plug into a standard 120 volt outlet or heavy-duty extension cord.
Of course, regular chargers are great in an auto shop for the occasional dead battery when you have left your lights on. When it comes time to connect each battery and charge it, the hassle of a standard battery charger outweighs any possible savings.
Along with charging comes maintaining each battery at peak charge between uses. To maintain your boat’s batteries, you would need to switch the charger every 24 hours to keep the batteries topped off.
So let’s leave the standard charger in the auto shop.
Ways to Select An Onboard Battery Charger
The best way to select an onboard battery charger for your fishing boat is to match it to your batteries, then consider your use case, like how long and often you fish.
You want the onboard battery charger to fully recharge your batteries after each trip and before your next trip without damaging them.
Let’s answer some of the questions that need to be answered to determine the best onboard charger for your fishing boat.
What Charger Voltage Do I Need?
Your boat’s configuration will determine the charger voltage of the onboard battery charger. Typically, most multi-bank chargers will be 12 volt, but some larger boats will have other voltages of multi-bank onboard chargers.
A 12 volt multi-bank charger will connect independently to each 12 volt battery. This is great when managing multiple batteries for different uses. However, if you are only charging one group of batteries connected in series for 24 volts you might be better with a 24 volt charger.
How Many Banks Do I Need for My Boat?
Now that you know what voltage you need selecting the correct number of banks is next on the list. The term battery bank is used differently in different applications. However, this term refers to each battery when using an onboard fishing boat battery charger.
If you have two 12 volt batteries for your 24 volt trolling motor, that is considered two banks. To charge those two batteries, you need a two-bank charger. If you have a 36 volt trolling motor, you most likely have three batteries and require a three-bank charger.
However, if you also want to maintain your main motor battery or house battery, you will need an extra charger bank. Also, that charger will need to be capable of charging multiple types of batteries. A standard combination could be deep cycle and dual power or lithium and dual power. Most dual power batteries are AGM.
The fewer banks a charger has, the cheaper it will be, so only buy what you need. You could consider a separate trickle charger for your house battery, as they are budget-friendly.
How Do I Select the Charger Amperage?
The last thing you want to get right when purchasing your onboard charger is the battery amperage of your fishing boat. A good rule of thumb is to get a battery charger that can recharge your batteries in ten hours. It would be best to consider not charging your batteries too fast as that could damage your batteries.
Start by looking at your trolling motor battery amp-hour capacity. If your battery is 100ah, you will be able to use 50 amp hours without damaging your batteries. To recharge that battery at 5 amps, you will need roughly 12 hours, about 40 amps in eight hours, then the last 10 amps in the final four hours.
That would work great for the once-a-week fishermen, but you might want to upsize if you are a daily fisherman. You should also check the maximum charge rate, or C rate, and not exceed that amperage. We have seen that the most versatile size is 10 amps per bank, 20 amps on a two bank charger, 30 amps on a three bank charger, etc.
Also, a formula that many people use is 10% of each deep cycle battery amp hour rating should equal the amp output per bank of the onboard charger. This falls close to the example above, or use this formula (battery amp hours x .10 = charger amps per bank)
Does the Battery Type Matter?
You want your onboard battery charger that matches your boat’s batteries type specifications. There are numerous onboard battery chargers on the market, and some can be set to charge any type of battery, like AGM, flooded, or Lithium. You should specifically look at what type of battery the onboard charger you have selected is capable of charging to verify compatibility.
How to Install An Onboard Battery Charger?
Installing an onboard battery charger for your boat is not the most complex job, but not every person is up to the job or even wants to perform the task.
To make this decision before starting, ask yourself a few questions.
- Do you have a basic understanding of DC wiring?
- Do you understand how to connect your electric trolling motor?
- Are you comfortable making holes in your boat?
If you answered any of these questions no, you might want to reach out to your local marine electrical professional and start with a quote.
If you answered yes, then here are some basic steps to follow
- Select and purchase the onboard charger that best matches your batteries and use case.
- Pick a mounting location close enough to your batteries not to need wire extensions.
- Mount your onboard battery charger in your boat.
- Verify that you have the correct fuses and connect your charger to your batteries as directed in the onboard charger user manual.
- Secure A/C plug to a power port or safe storage location with easy access.
Once you have completed the installation before sealing up the panels, you should test the operation and set your battery types if required for your model of the onboard charger. If something is not working correctly, you should start by looking in your charger’s user manual for the troubleshooting section.

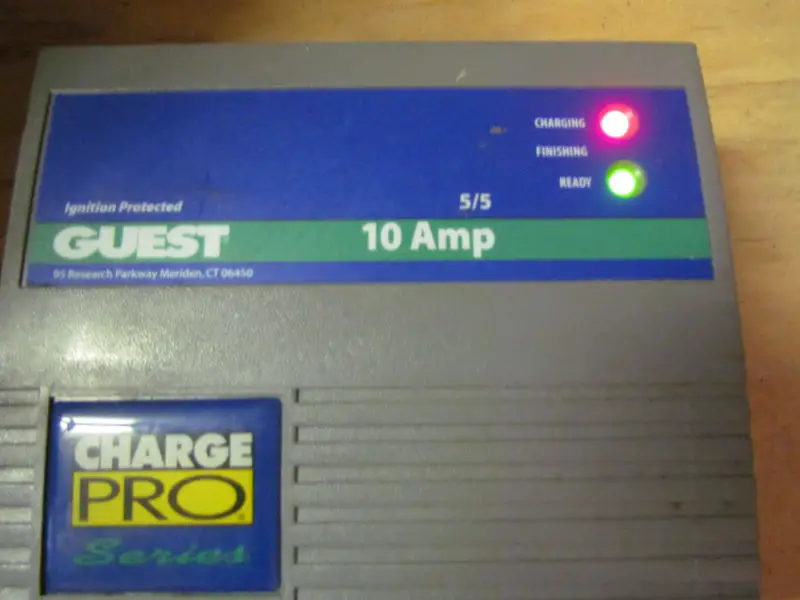
Typically, your charger will turn on, and yellow lights will flash to indicate that your charger is doing its job.
How to Use An Onboard Battery Charger?
Once an onboard charger is installed, it is typically easy to use by plugging it into an outlet or heavy-duty extension cord. Many modern onboard chargers can auto-detect battery type so they can automatically set the proper charge profile.
Other chargers have a battery type selection button or a plug-like device to set the battery type. Once you have selected the battery type no further adjustments are required, and the charger will automatically operate.
Onboard battery chargers generally work in three different stages as they generate power to charge the boat’s batteries. The different stages of the onboard battery charger are as follows:
● Bulk Stage
The bulk stage is where the onboard charger fully charges most of the battery. In this stage, the onboard charger has the highest amperage until a set voltage is reached to repower the boat’s batteries. We refer to this stage as the heavy lifting stage.
● Absorption Stage
The absorption stage comes after the bulk stage, and it’s during this stage, the battery charger and the electric trolling motor batteries are correctly synced. The onboard charger maintains a set voltage but continues to send amps to the batteries, matching the battery’s optimal charge profile and slowly completing the recharging process. We refer to this as the topping off stage, but it is more than that.
● Float Stage
The float stage is the final stage of the onboard charger, and it’s at this stage, power is only sent to the batteries to keep them fully charged. The charger matches the battery’s charge profile to a holding voltage and sends the minimum amps when it senses the battery losing charge. This stage is crucial to keep your batteries healthy between long periods of use. We refer to this stage as the maintenance stage.
Of course, these three stages are the traditional charging stages. Some more advanced onboard chargers have more stages for a more refined charge cycle, like equalization and a true storage stage.
Also, lithium batteries require a more specialized charge profile that will work in conjunction with their BMS. You can use the AGM battery setting in a pinch, but for maximum performance and longest life, you should use a lithium-compatible charger.
Our Top Recommended Onboard Battery Charger
There are a lot of great battery chargers currently on the market so it is hard to pick the top one. However, we have made our choice and it is the NOCO Genius GENPRO 10×4 lithium compatible onboard battery charger.

NOCO has been making onboard chargers for years and now is producing a lithium-compatible charger that can be set to multiple battery types. They have many different options and are maintaining good inventory at last check. You can check each model out on Amazon.com with the links below.

Our number 2 pick was our long-time favorite the Minn Kota 230PCL lithium compatible. We love Minn Kota products but the reason we put this unit in second place is that we could only find one fishing guide that had this unit for interview and testing, and I had to pay for a fishing trip, lol.
There seems to be a supply issue, but hopefully, that will be resolved very soon. Overall the MinnKota PCL performed the same as the PC we tested last year and the fishing guide was quite happy with it.
Use these links for our updated reviews on 3 bank onboard battery chargers or 4 bank battery chargers.
Conclusion
If you don’t have an onboard battery charger adding one to your boat could change your life. Not only will adding an onboard battery charger be convenient, but it could also double the life cycle of your electric trolling motor batteries.
Our favorite benefit of an onboard charger is when you arrive home after a long day of fishing, you simply plug the charger in and head to the kitchen for a fish fry. How much better could life get?


[…] Marine Battery Chargers are constructed in a plastic or metal housing (sometimes aluminum). Wire comes through an opening […]
[…] Check out our article How Does An Onboard Charger Work? […]